本地打包
我们使用jar包与配置文件分离的方式进行打包:
1
2
3
4
5
6
7
8
9
10
11
12
13
14
15
16
17
18
19
20
21
22
23
24
25
26
27
28
29
30
31
32
33
34
35
36
37
38
39
40
41
42
43
44
45
46
47
48
49
50
51
52
53
54
55
56
57
58
59
60
61
62
63
64
65
66
67
| <plugin>
<groupId>org.apache.maven.plugins</groupId>
<artifactId>maven-jar-plugin</artifactId>
<configuration>
<excludes>
<exclude>**/*</exclude>
</excludes>
<archive>
<manifest>
<mainClass>com.castile.secondkill.CastileSeckillApplication</mainClass>
<addClasspath>true</addClasspath>
<classpathPrefix>lib/</classpathPrefix>
<useUniqueVersions>false</useUniqueVersions>
</manifest>
<manifestEntries>
<Class-Path>config/</Class-Path>
</manifestEntries>
</archive>
</configuration>
</plugin>
<plugin>
<groupId>org.apache.maven.plugins</groupId>
<artifactId>maven-dependency-plugin</artifactId>
<executions>
<execution>
<id>copy</id>
<phase>package</phase>
<goals>
<goal>copy-dependencies</goal>
</goals>
<configuration>
<outputDirectory>${project.build.directory}/lib/</outputDirectory>
</configuration>
</execution>
</executions>
</plugin>
<plugin>
<artifactId>maven-resources-plugin</artifactId>
<executions>
<execution>
<id>copy-resources</id>
<phase>package</phase>
<goals>
<goal>copy-resources</goal>
</goals>
<configuration>
<resources>
<resource>
<directory>src/main/resources/</directory>
<includes>
<include>**/*</include>
</includes>
</resource>
</resources>
<outputDirectory>${project.build.directory}/config</outputDirectory>
</configuration>
</execution>
</executions>
</plugin>
|
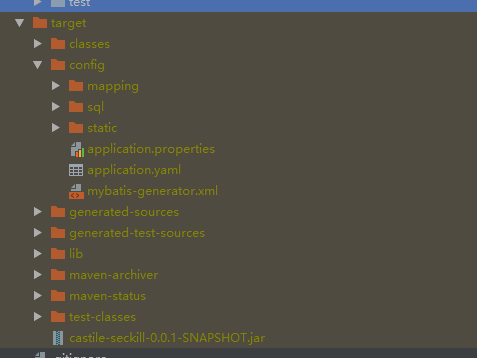
配置文件放在config目录下,项目依赖的jar包放在lib目录下。
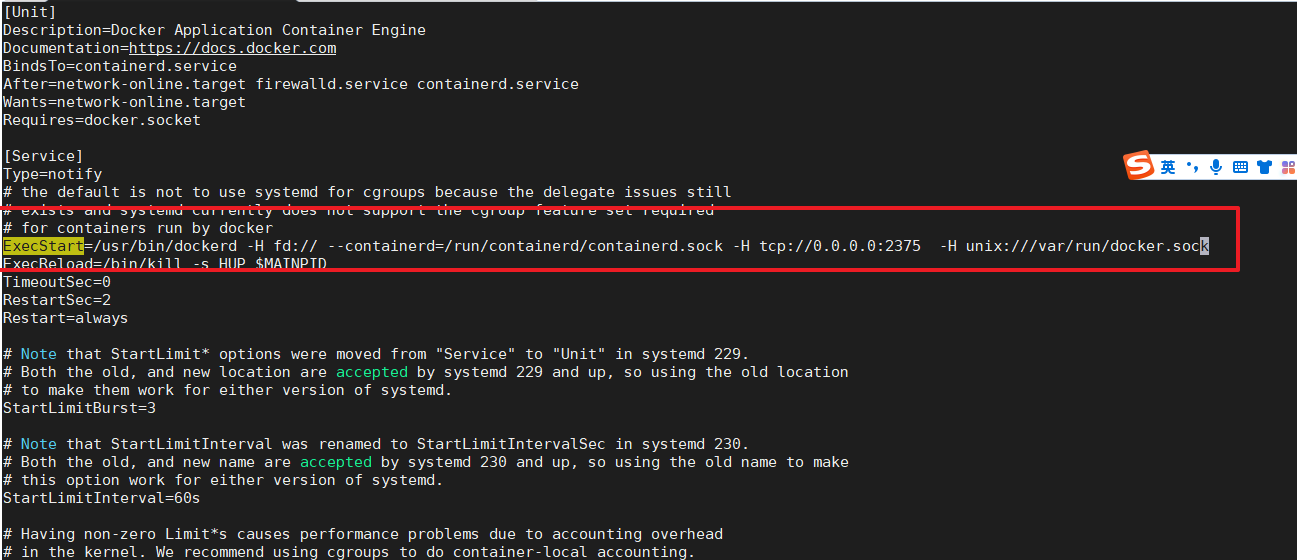
docker远程访问
修改 /usr/lib/systemd/system/docker.service 文件,ExecStart中加入如下内容
-H tcp://0.0.0.0:2375 -H unix:///var/run/docker.sock
重启docker让它生效
1
2
| systemctl daemon-reload
systemctl restart docker
|
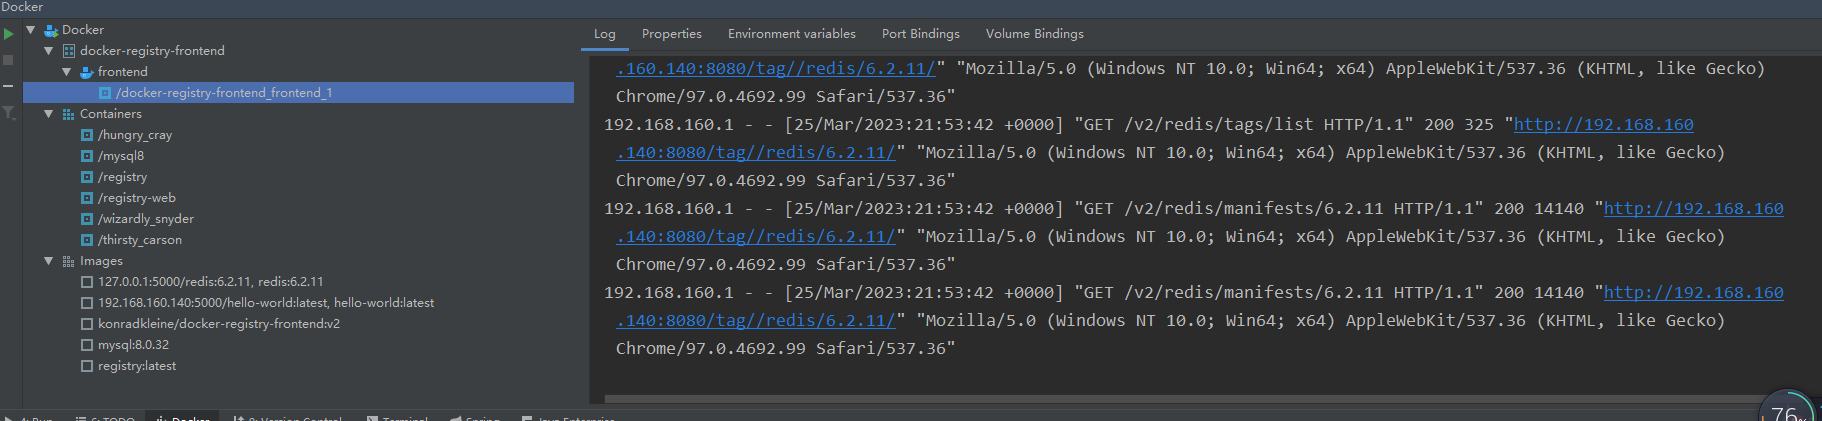
idea测试docker连接

可以看到连接成功:
制作镜像
项目中引入docker-maven-plugin插件,在pom.xml引入插件并做相应的配置:
1、打包的时候忽略resource配置
1
2
3
4
5
6
7
8
| <resources>
<resource>
<directory>src/main/resources</directory>
<excludes>
<exclude>**/**</exclude>
</excludes>
</resource>
</resources>
|
2. lib、config目录的构建
1
2
3
4
5
6
7
8
9
10
11
12
13
14
15
16
17
18
19
20
21
22
23
24
25
26
27
28
29
30
31
32
33
34
35
36
37
38
39
40
| <plugin>
<groupId>org.apache.maven.plugins</groupId>
<artifactId>maven-dependency-plugin</artifactId>
<executions>
<execution>
<id>copy</id>
<phase>package</phase>
<goals>
<goal>copy-dependencies</goal>
</goals>
<configuration>
<outputDirectory>${project.build.directory}/lib/</outputDirectory>
</configuration>
</execution>
</executions>
</plugin>
<plugin>
<artifactId>maven-resources-plugin</artifactId>
<executions>
<execution>
<id>copy-resources</id>
<phase>package</phase>
<goals>
<goal>copy-resources</goal>
</goals>
<configuration>
<resources>
<resource>
<directory>src/main/resources/</directory>
<includes>
<include>**/*</include>
</includes>
</resource>
</resources>
<outputDirectory>${project.build.directory}/config</outputDirectory>
</configuration>
</execution>
</executions>
</plugin>
|
3、启动类-boot-jar
1
2
3
4
5
6
7
8
9
10
11
12
13
14
15
16
17
18
19
20
21
22
23
24
25
26
| <plugin>
<groupId>org.springframework.boot</groupId>
<artifactId>spring-boot-maven-plugin</artifactId>
<configuration>
<includes>
<include>
<groupId>none-group</groupId>
</include>
</includes>
<layout>ZIP</layout>
<attach>true</attach>
<classifier>boot</classifier>
<mainClass>com.castile.secondkill.CastileSeckillApplication</mainClass>
</configuration>
<executions>
<execution>
<goals>
<goal>
repackage
</goal>
</goals>
</execution>
</executions>
</plugin>
|
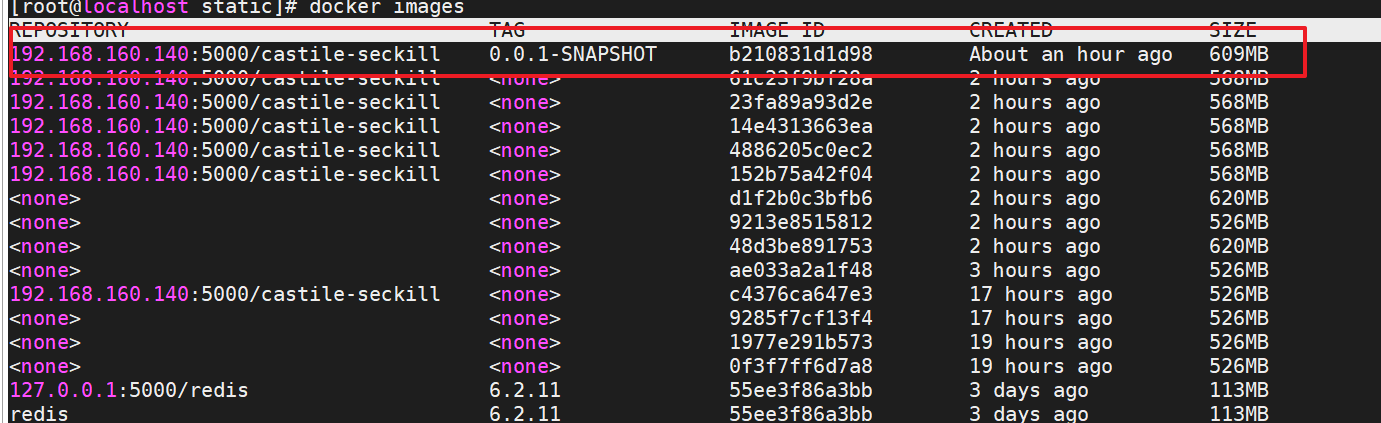
4、镜像构建
1
2
3
4
5
6
7
8
9
10
11
12
13
14
15
16
17
18
19
20
21
22
23
24
25
26
27
28
29
30
31
32
33
34
35
36
37
38
39
40
41
42
43
44
45
46
47
48
49
50
51
52
53
54
55
56
57
58
59
60
61
62
63
| <plugin>
<groupId>com.spotify</groupId>
<artifactId>docker-maven-plugin</artifactId>
<version>1.2.2</version>
<executions>
<execution>
<id>buildAndPush</id>
<phase>install</phase>
<goals>
</goals>
</execution>
<execution>
<id>build-docker</id>
<phase>package</phase>
<goals>
<goal>build</goal>
</goals>
</execution>
</executions>
<configuration>
<dockerHost>${docker.host}</dockerHost>
<retryPushCount>1</retryPushCount>
<retryPushTimeout>2000</retryPushTimeout>
<registryUrl>${docker.registry}</registryUrl>
<imageName>${docker.registry}/${project.artifactId}:${imageVersion}</imageName>
<dockerDirectory>${project.basedir}/src/main/docker</dockerDirectory>
<forceTags>true</forceTags>
<buildArgs>
<SERVICE_PACKAGE>${project.basedir}/../../target/${finalName}.tar.gz</SERVICE_PACKAGE>
</buildArgs>
<resources>
<resource>
<targetPath>/opt/castile/app</targetPath>
<directory>${project.build.directory}</directory>
<includes>
<include>lib/*</include>
<include>config/**/*</include>
<include>*-boot.jar</include>
</includes>
</resource>
</resources>
</configuration>
</plugin>
|
5、Dockerfile
1
2
3
4
5
6
7
8
9
10
| FROM openjdk:8
ARG SERVICE_PACKAGE
MAINTAINER zhuhongliang 'castile.github.io'
ENV APP_HOME=/opt/castile/app
ADD opt/castile/app /opt/castile/app/
EXPOSE 9090
WORKDIR /opt/castile/app
#CMD /bin/bash ${APP_HOME}/config/docker-start.sh
ENTRYPOINT ["java", "-Xbootclasspath/a:/opt/castile/app/config", "-Djava.ext.dirs=/opt/castile/app/lib:$JAVA_HOME/jre/lib/ext","-jar","/opt/castile/app/castile-seckill-0.0.1-SNAPSHOT-boot.jar"]
|
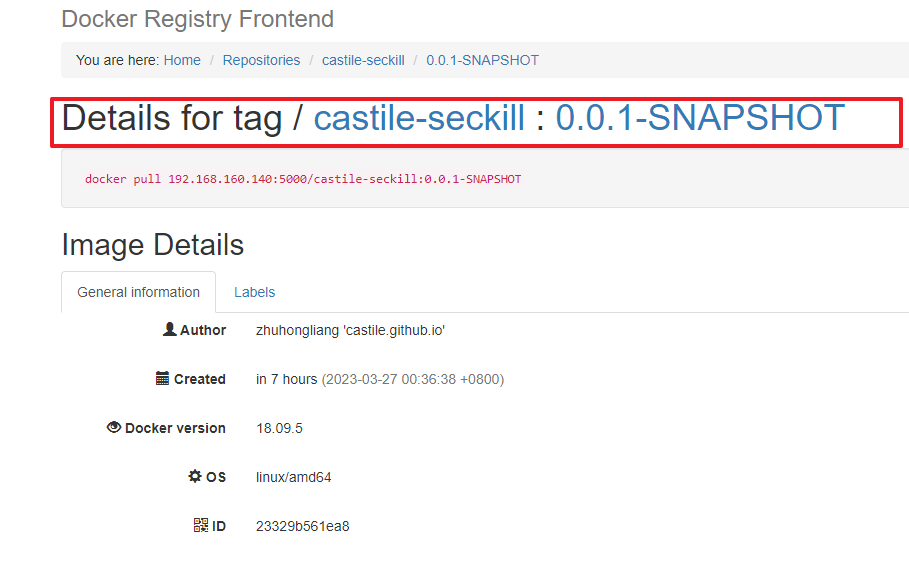
推送至docker私服:
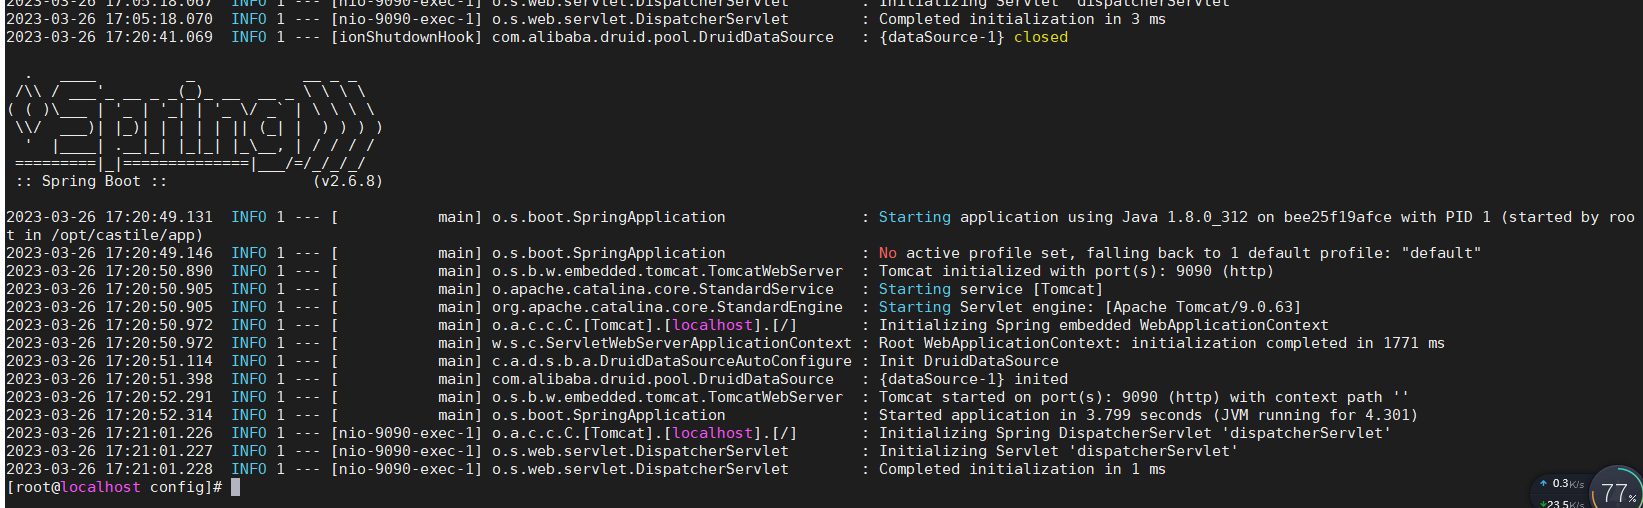
启动部署
1
2
| docker run -d --name castile -p 9090:9090 -v /opt/applications/castile-seckill/config/:/opt/castile/app/config 192.168.160.140:5000/castile-seckill:0.0.1-SNAPSHOT
|
这里设置宿主机的opt/applications/castile-seckill/config/目录和容器内/opt/castile/app/config目录映射,为了修改配置方便些。
执行的java命令:
1
| java -Xbootclasspath/a:/opt/castile/app/config -Djava.ext.dirs=/opt/castile/app/lib:$JAVA_HOME/jre/lib/ext -jar /opt/castile/app/castile-seckill-0.0.1-SNAPSHOT-boot.jar
|
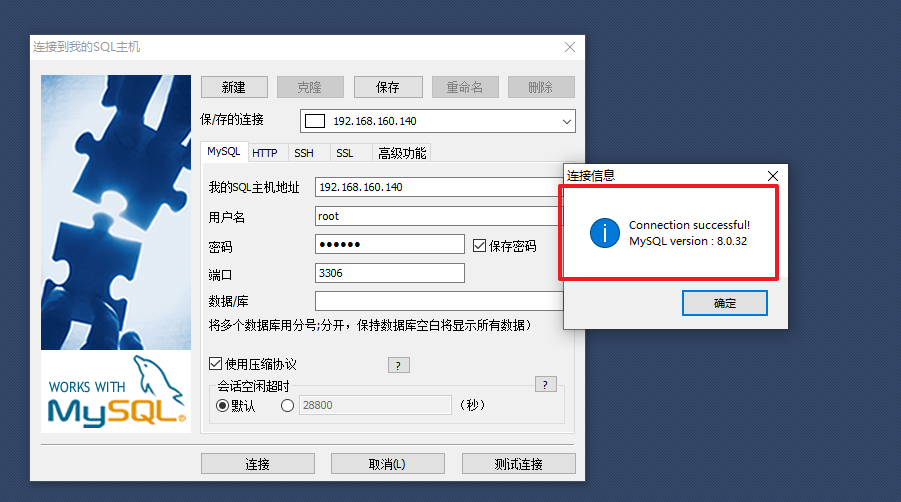
部署msql
因为项目依赖mysql,因此需要把mysql容器先启动,再启动项目
1
| docker run --name mysql8 -v /var/mysql/data:/var/lib/mysql -v /var/mysql/conf.d -e MYSQL_ROOT_PASSWORD=123456 -p 3306: 3306 -d mysql:8.0.32
|
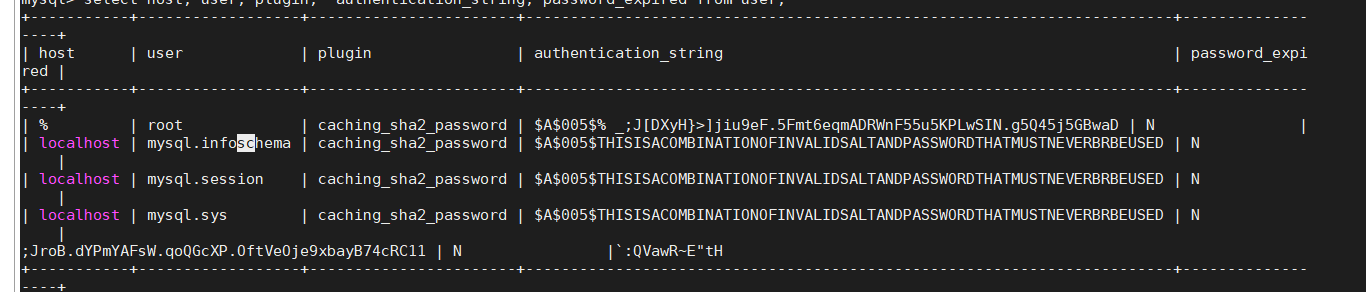
设置远程访问:
1
| select host, user, plugin, authentication_string, password_expired from user;
|
1
2
3
4
5
| ALTER USER root@'%' IDENTIFIED WITH mysql_native_password BY '123456';
ALTER USER root@'localhost' IDENTIFIED WITH mysql_native_password BY '123456';
刷新权限
FLUSH PRIVILEGES;
|

测试访问
浏览器输入:
1
| http://192.168.160.140:9090/login.html
|

已经可以成功访问啦,可以验证基本功能都正常。

